quickstart:installing_ubuntu_mate
Installing Ubuntu MATE 18.04 through LiveCD with preinstalled myCNC software
- Connect the power cable, the screen through an HDMI or VGA cable, keyboard, mouse and the LiveCD with Ubuntu Mate 18.04 to the computer
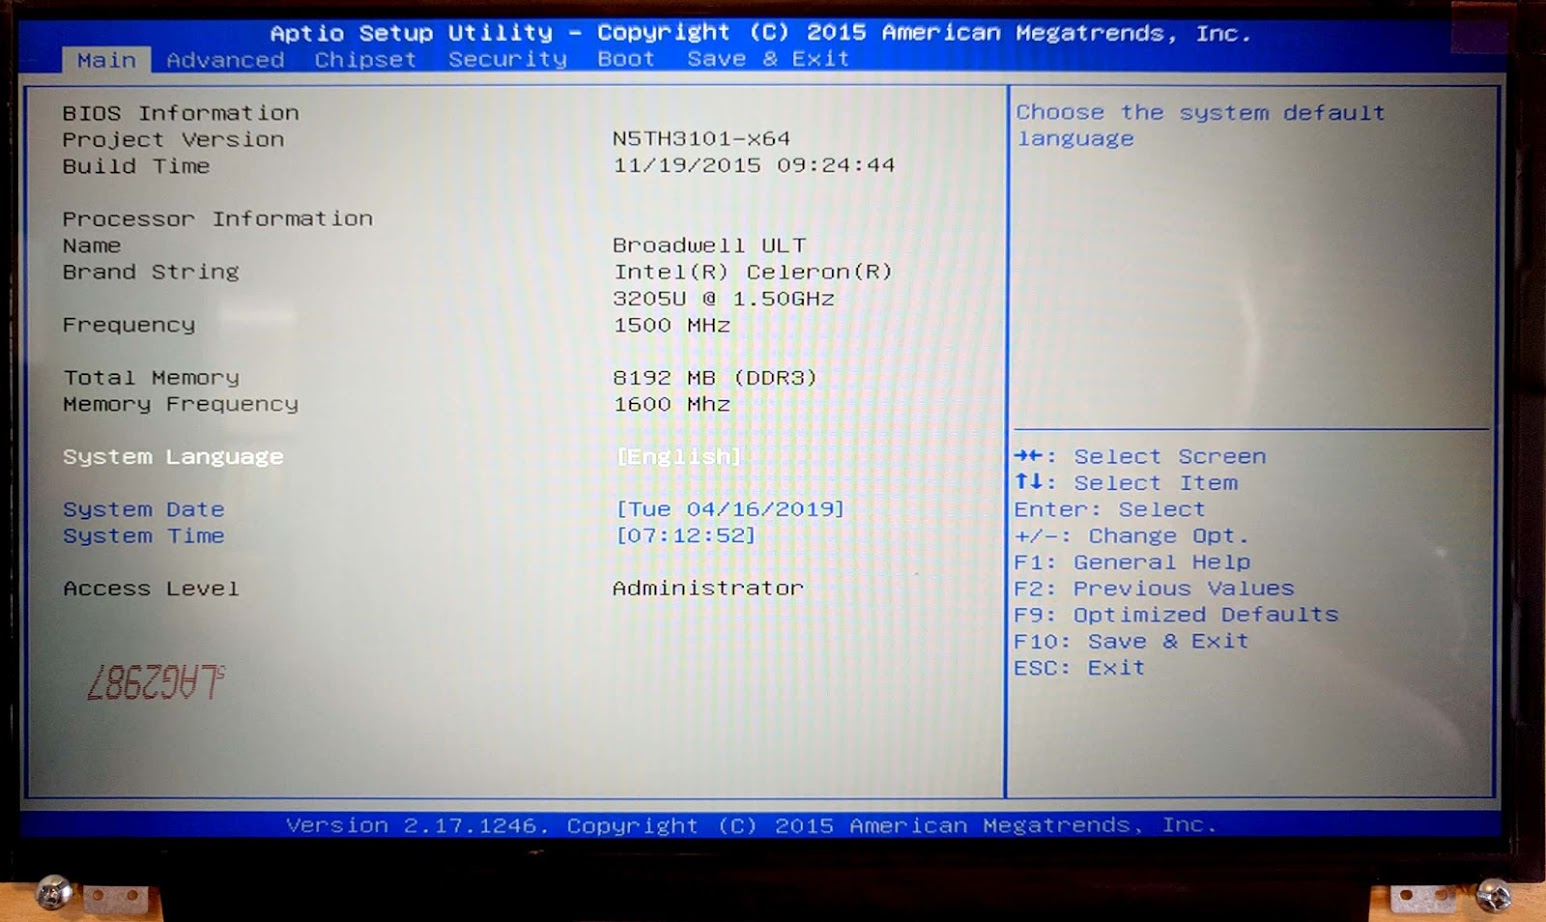
- When booting up the computer, hold the Delete key to enter the BIOS
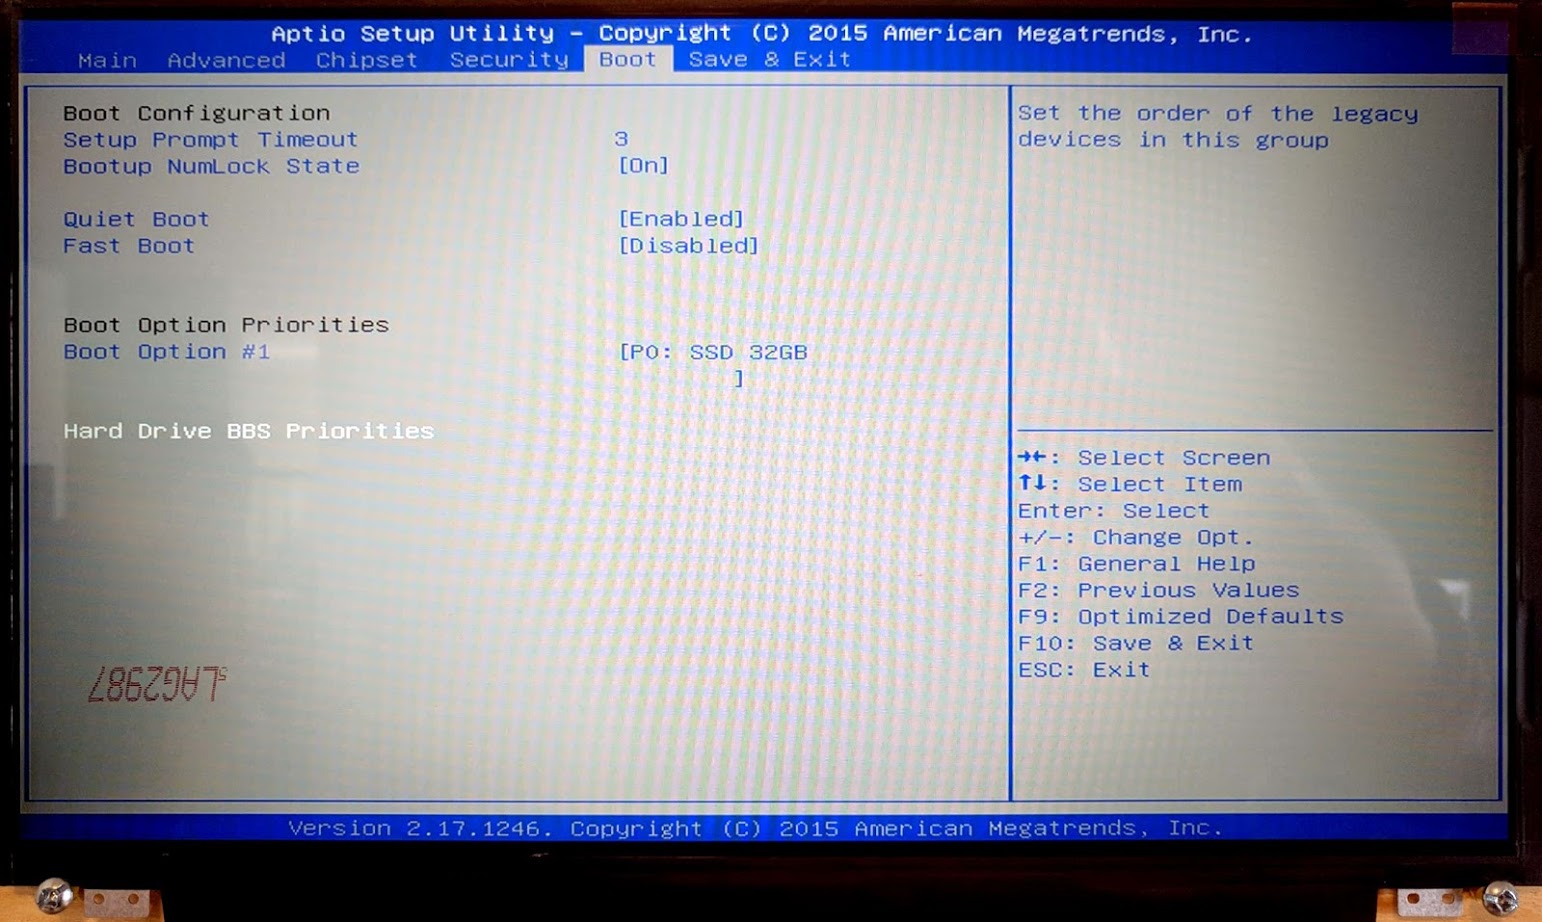
- In the BIOS screen, navigate to the Boot tab
- Select the Hard Drive BBS Priorities
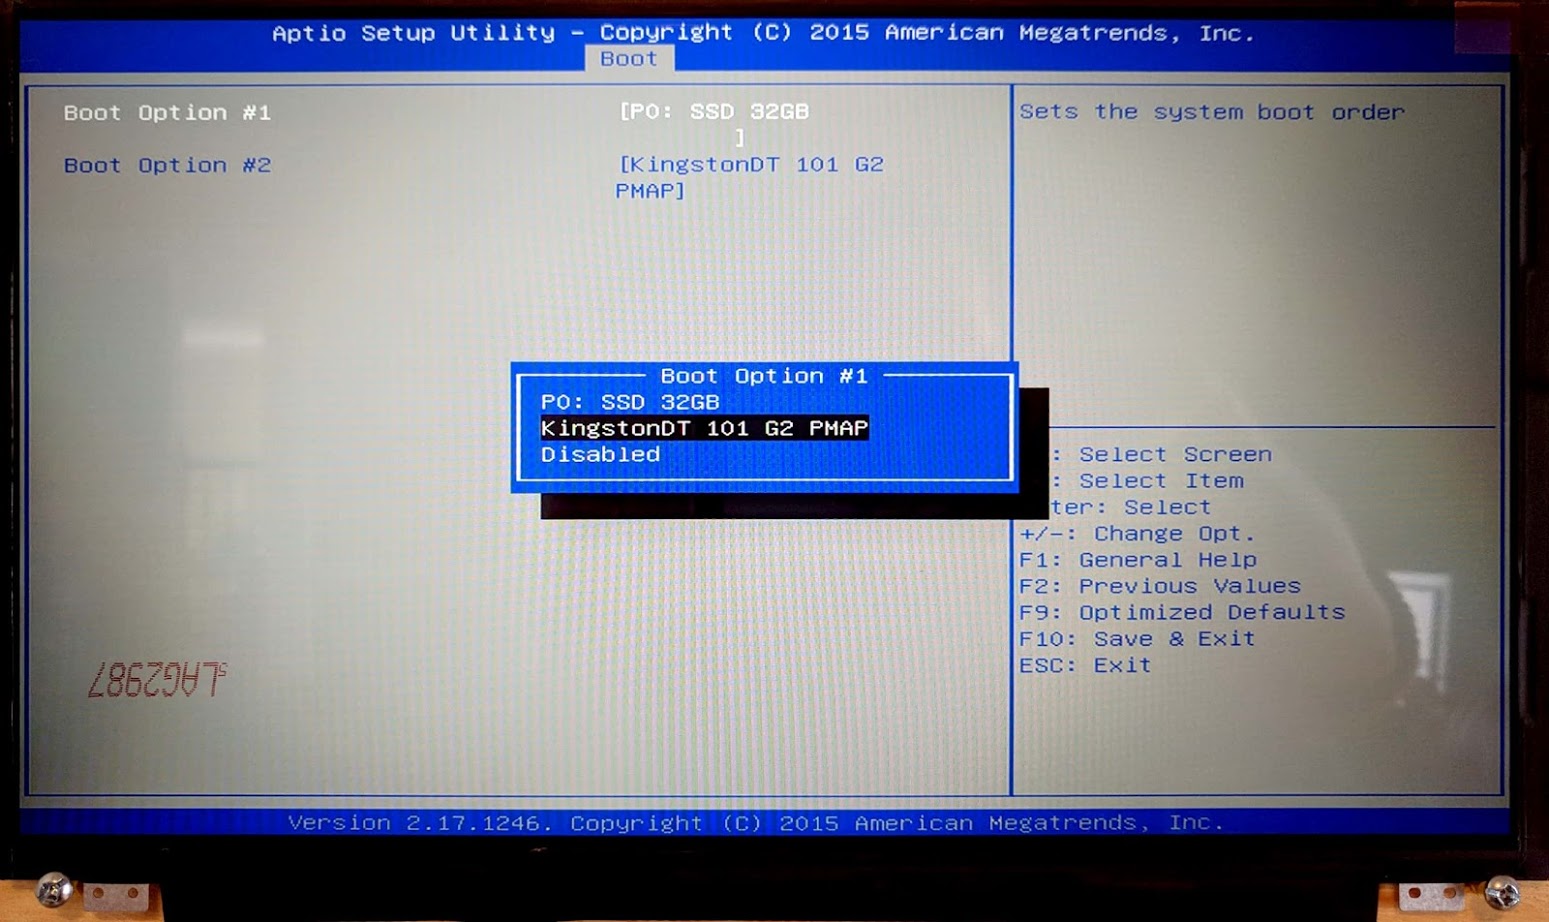
- For Boot Option #1, switch the SSD 32GB to your LiveCD (in our case, the KingstonDT 101 G2 PMAP)
- Save & Exit by pressing F10. The boot-up will begin shortly
- In the popup window, select the Install Ubuntu MATE option
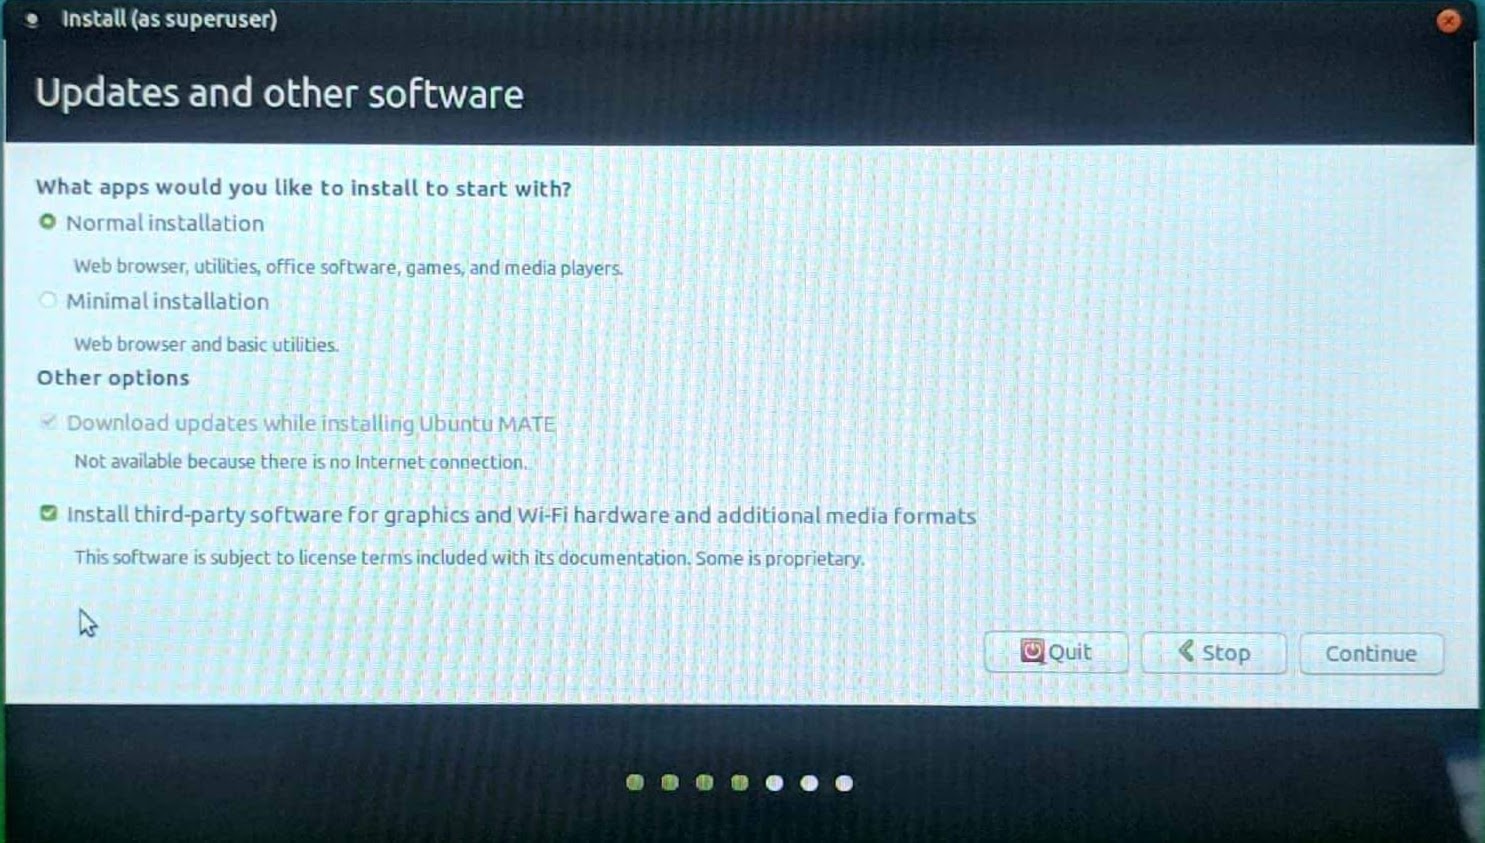
- Select Normal Installation, and check the Install third-party software checkmark on the next screen
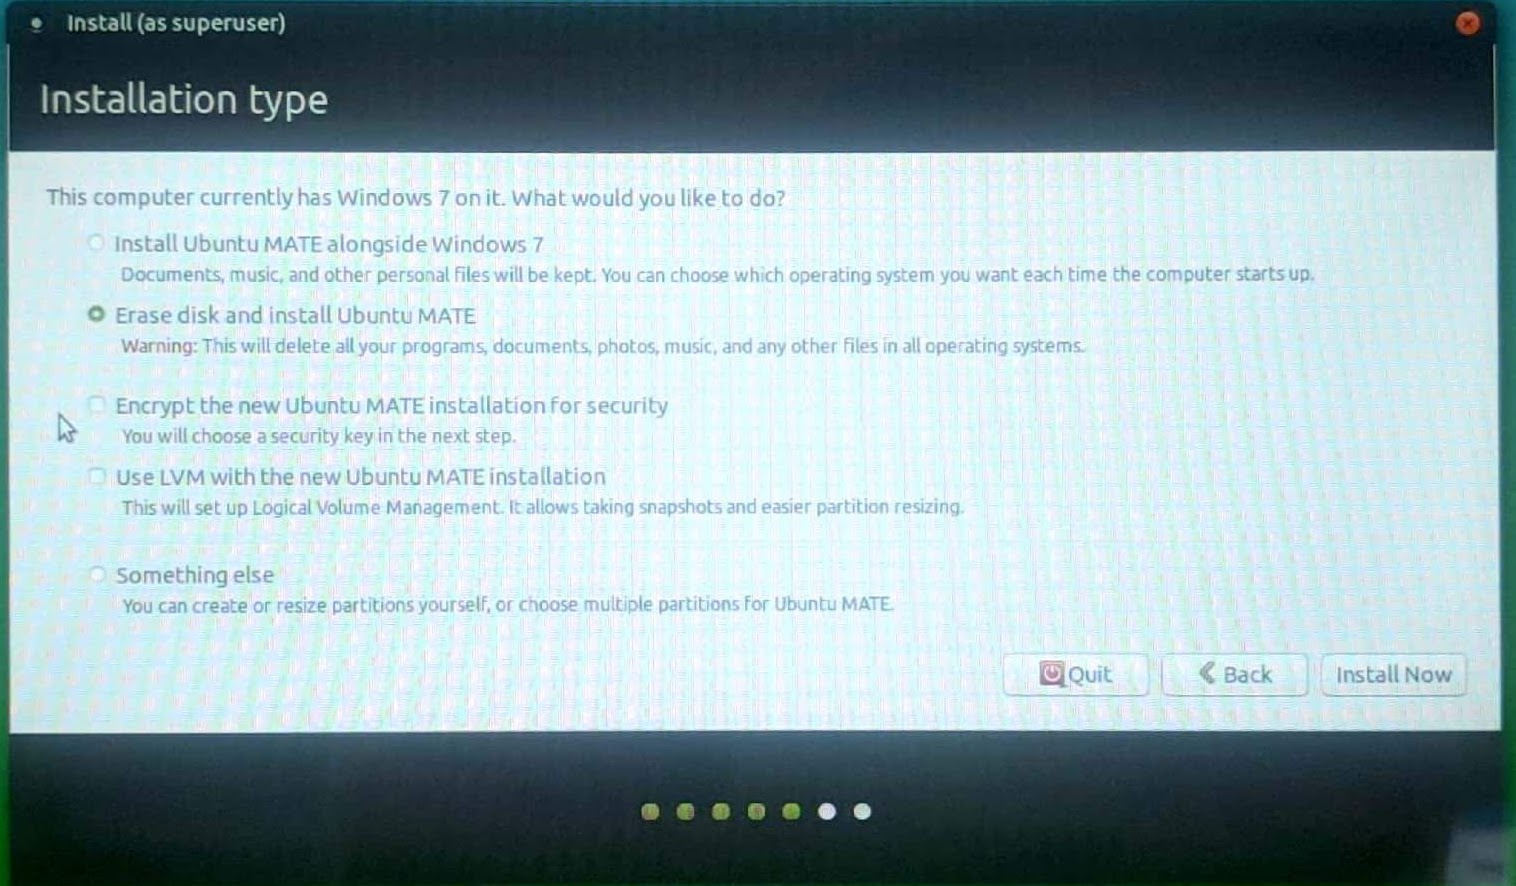
- Select the Erase disk and install Ubuntu MATE option if you want to format the Windows partition, leaving only Ubuntu MATE on the computer
- Select your timezone
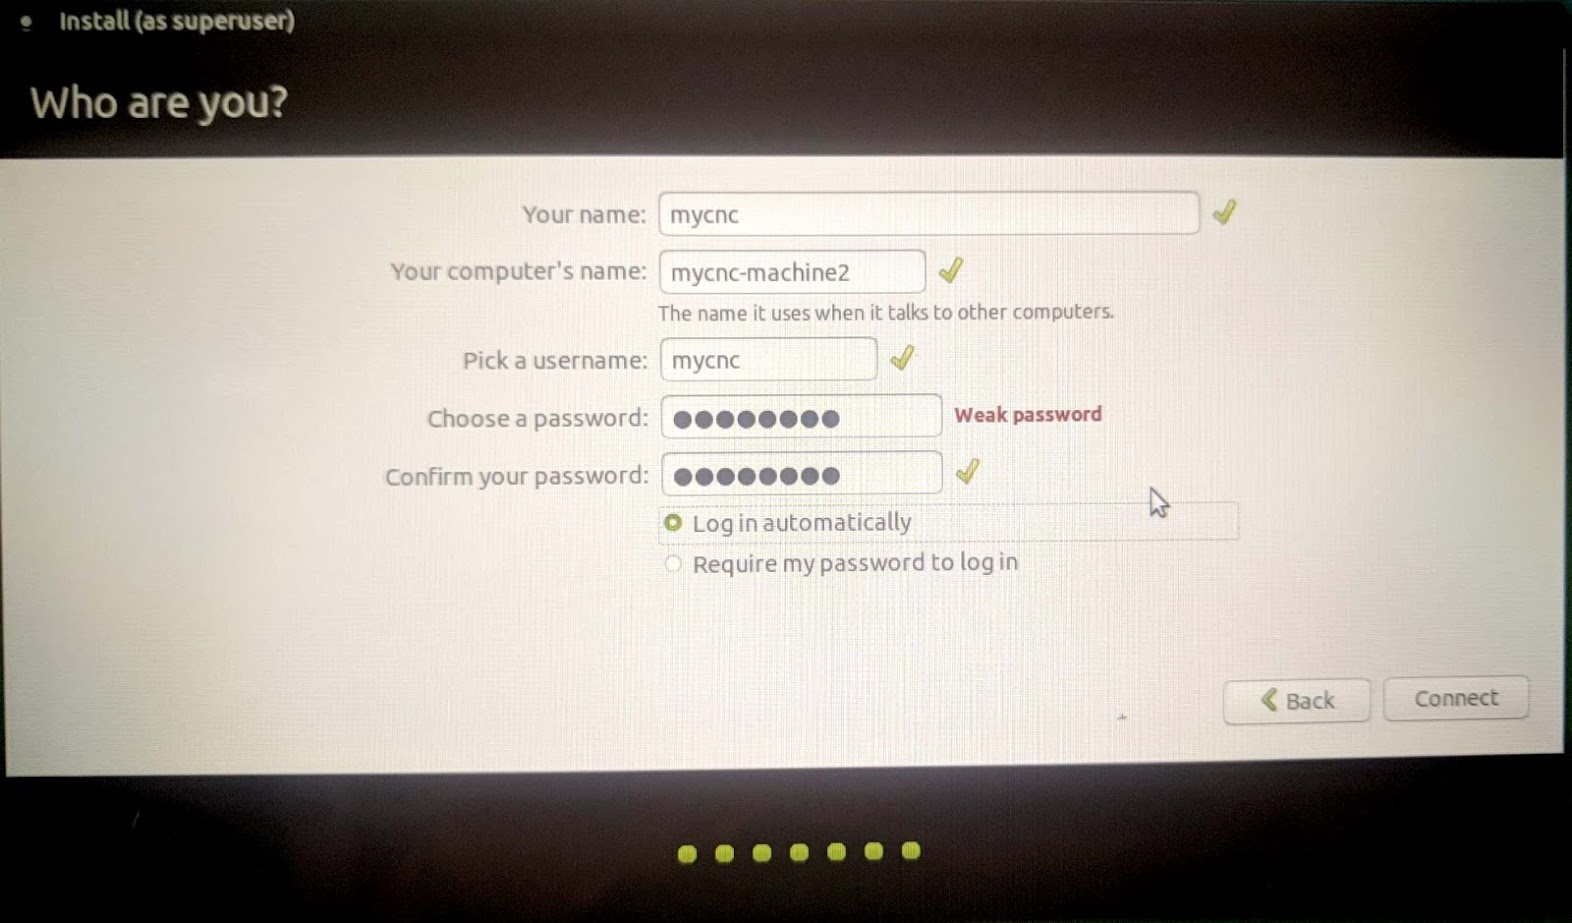
- In the Who are you? screen, use mycnc as the username to access the presets that are applied during the installation. These presets include the mycnc user in groups such as dialout (access to scanners), sudo (security privileges of superuser), and sambashare (SMB/CIFS networking protocol for Windows). NOTE: These presets are strongly recommended for novice users.
- Select the Log in automatically option
The installation of Ubuntu MATE will begin momentarily.
quickstart/installing_ubuntu_mate.txt · Last modified: by ivan

