Table of Contents
Installing the provided myCNC Linux ISO on a Tinkerboard SBC
This manual outlines the installation process of a ready-to-go image file with complete Linux OS and myCNC software installed for the Asus TinkerBoard Single Board Computer.
Burning the ISO onto a microSD card
In order to install the ISO file provided on the main website's Downloads page onto a Tinkerboard Single Board Computer, in must first be flashed onto a microSD card. In order to do so, please follow the instructions below:
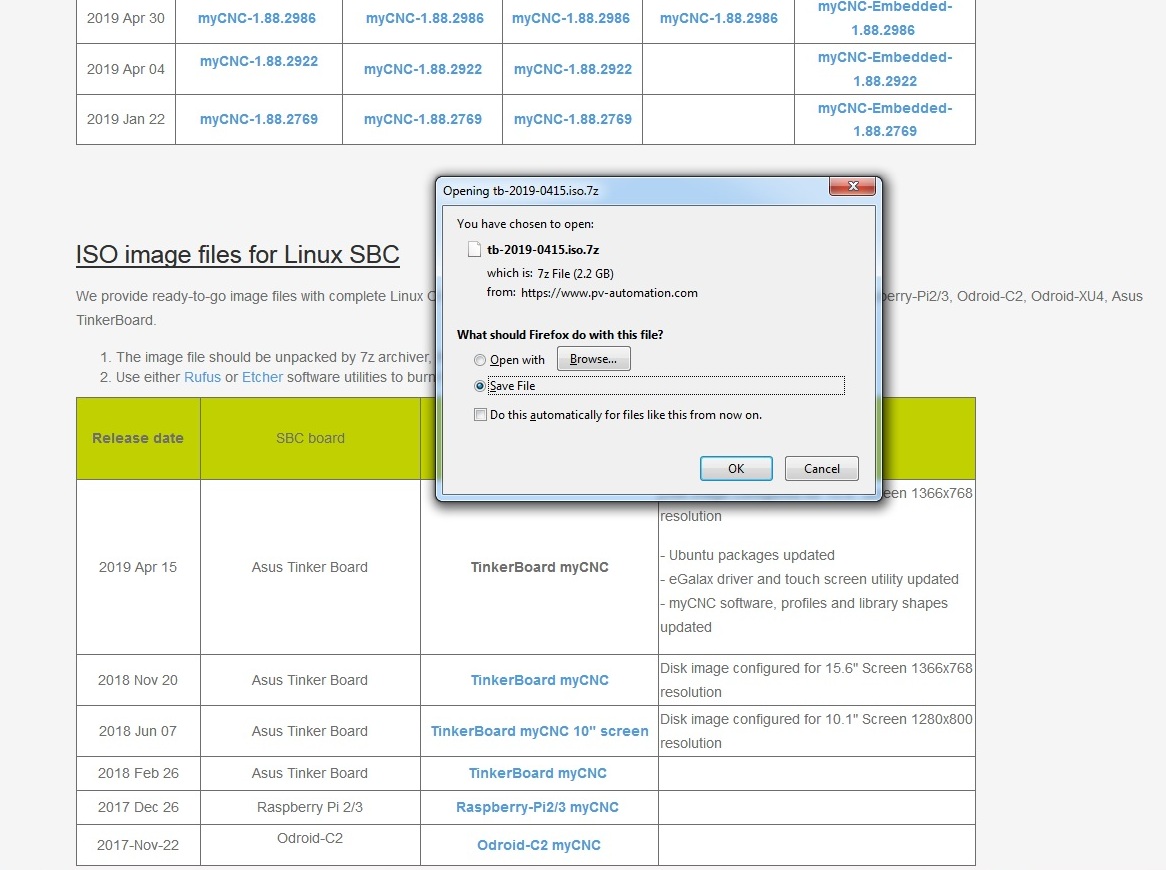
1. Download the latest Tinkerboard ISO image file from the Downloads page. This file can be found under the ISO image files for Linux SBC.
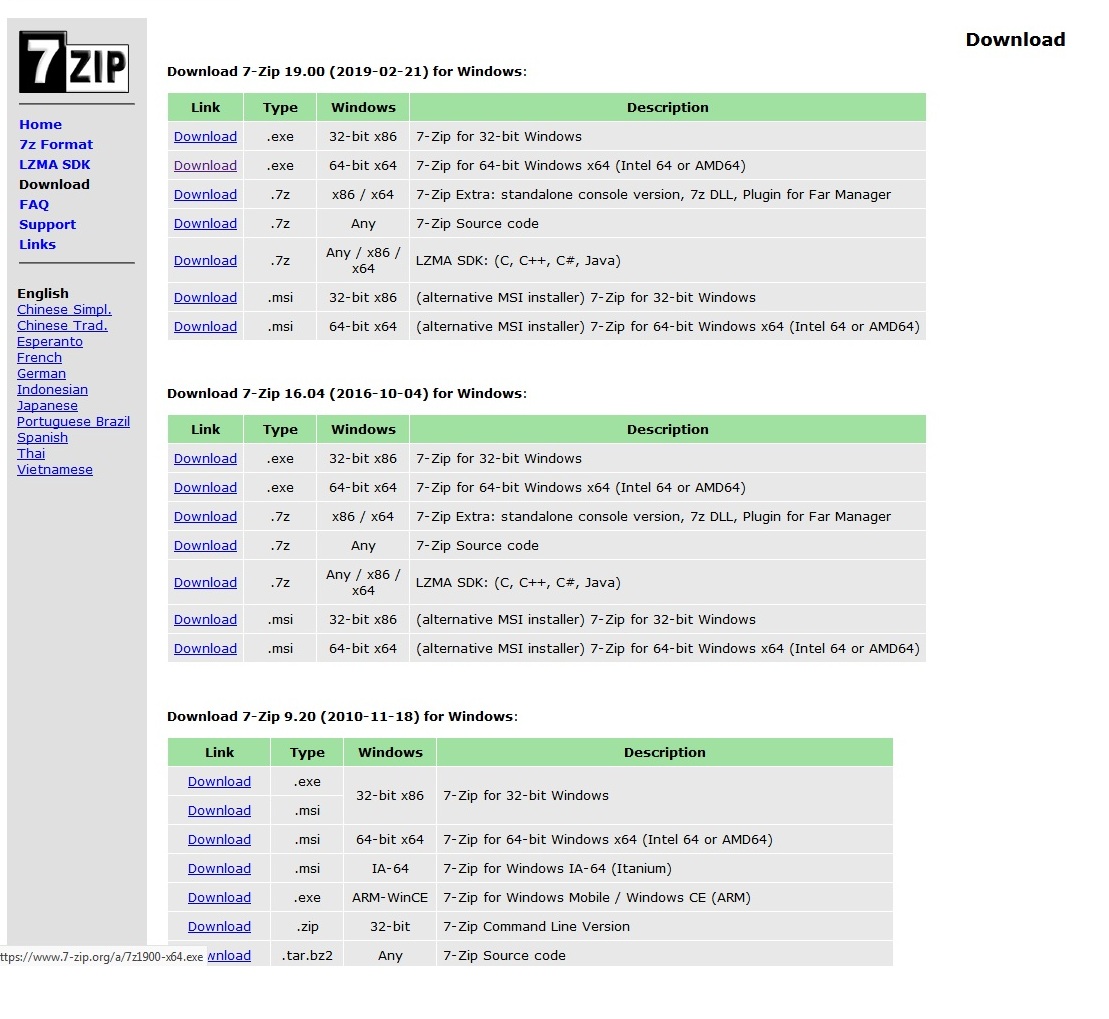
2. Download and install the 7-Zip File Archiver onto your machine. This will be used to unpack the downloaded image file archive.
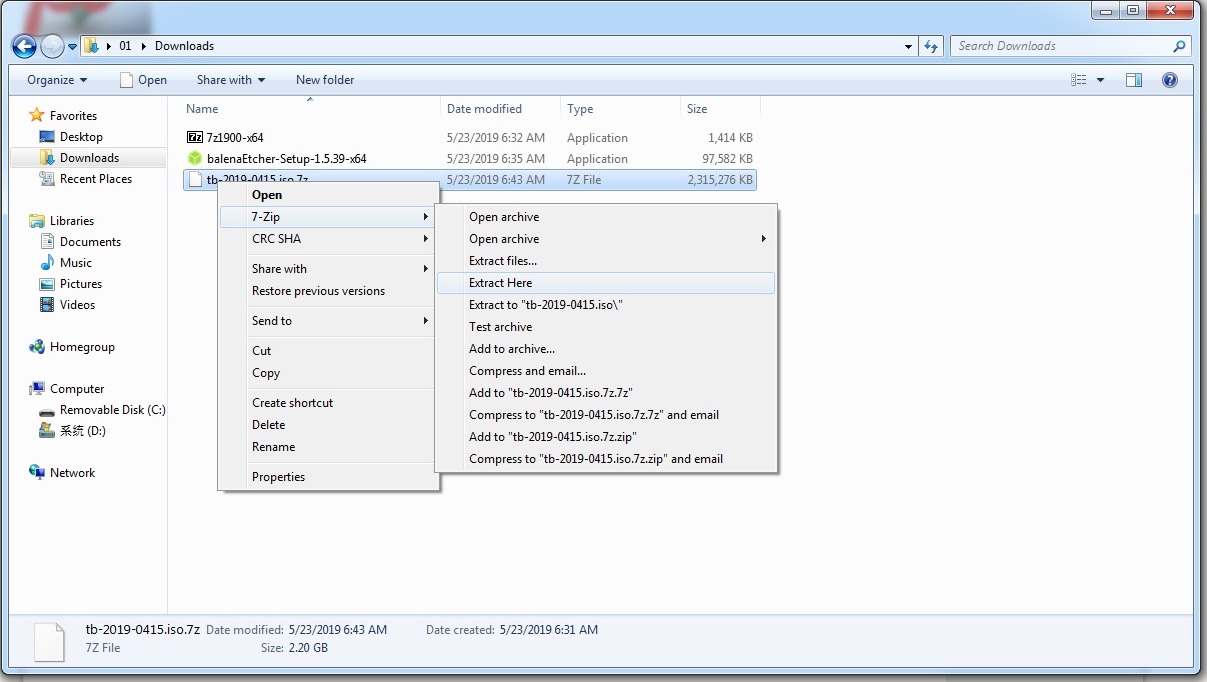
3. Right-click the Tinkerboard ISO image file in your Downloads folder, and then select 7-Zip > Extract Here (if for any reason you need to unpack it to a different folder, click 7-Zip > Extract Files). The file unpacking process should begin shortly.
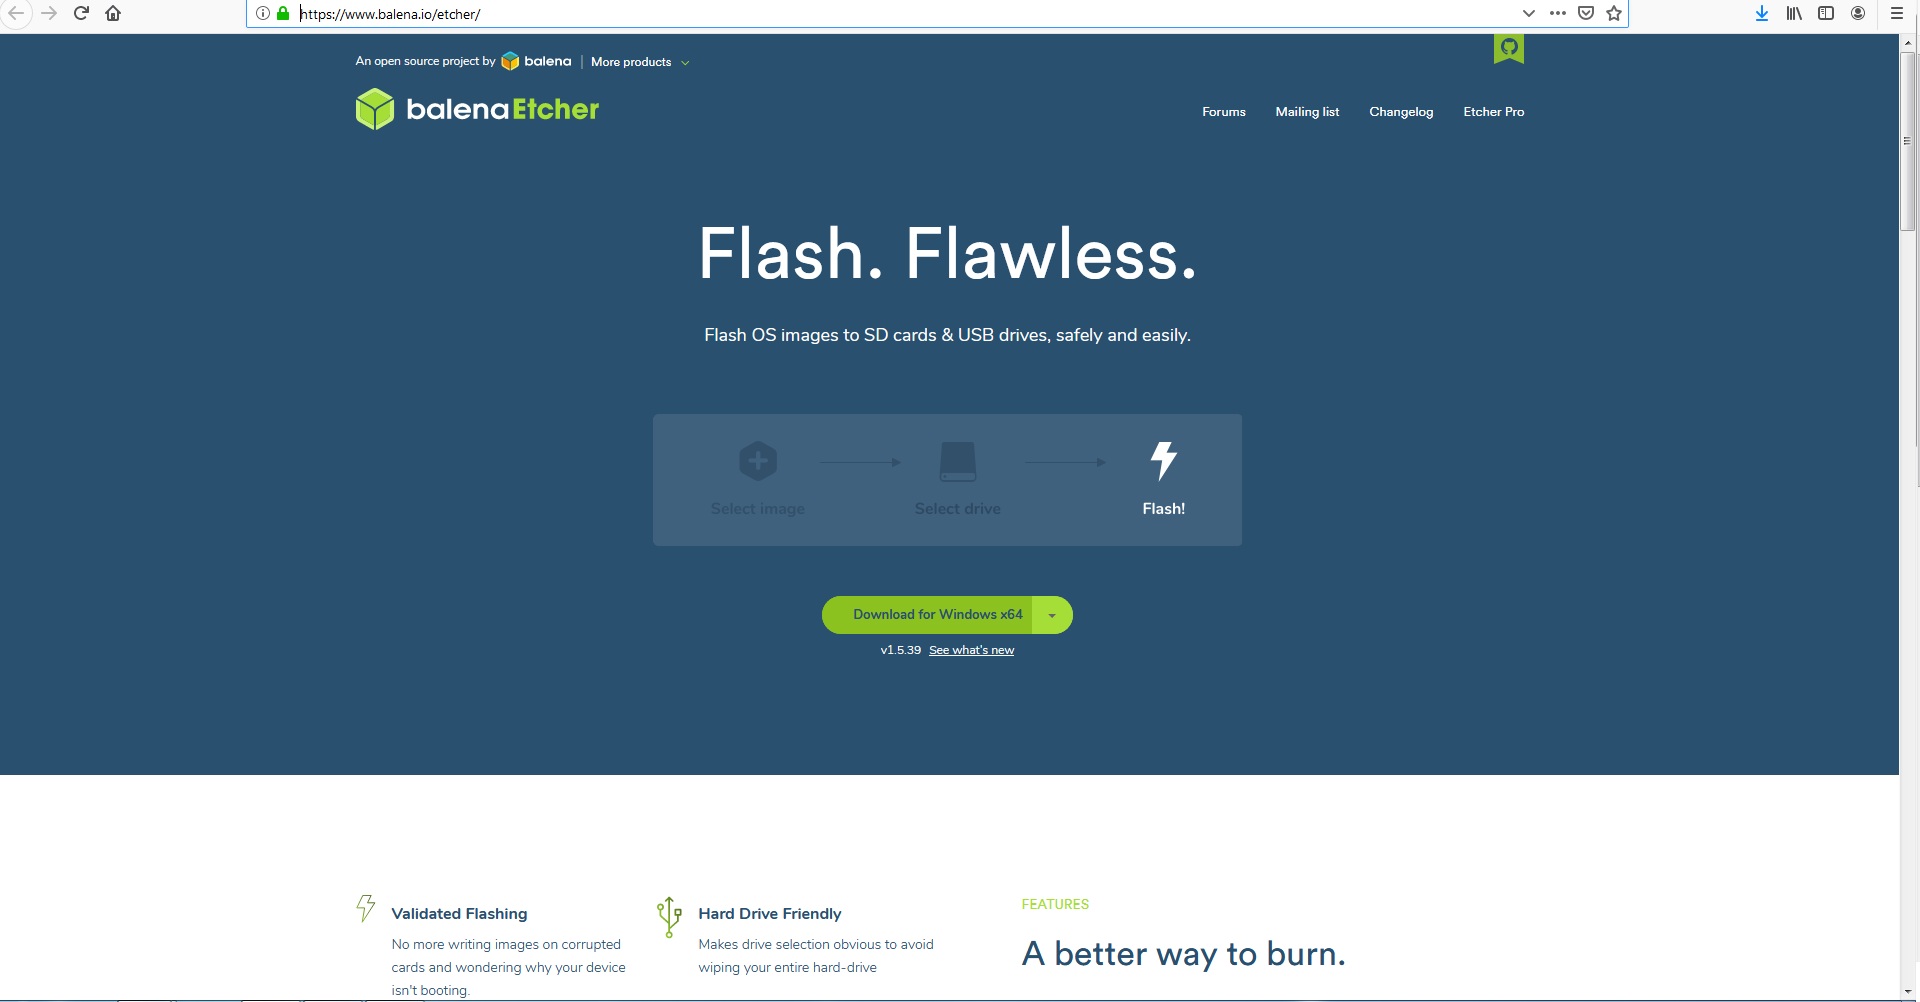
4. Download and install the Etcher program from the balenaEtcher website. This program will allow you to burn an ISO file onto a microSD card.
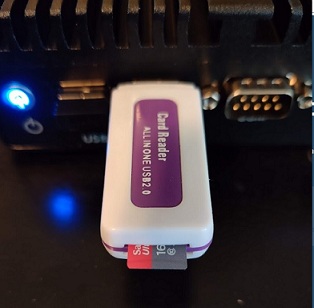
5. Insert the microSD card into the computer. A dedicated card reader is used in our particular setup, as the computer does not have a special microSD card slot.
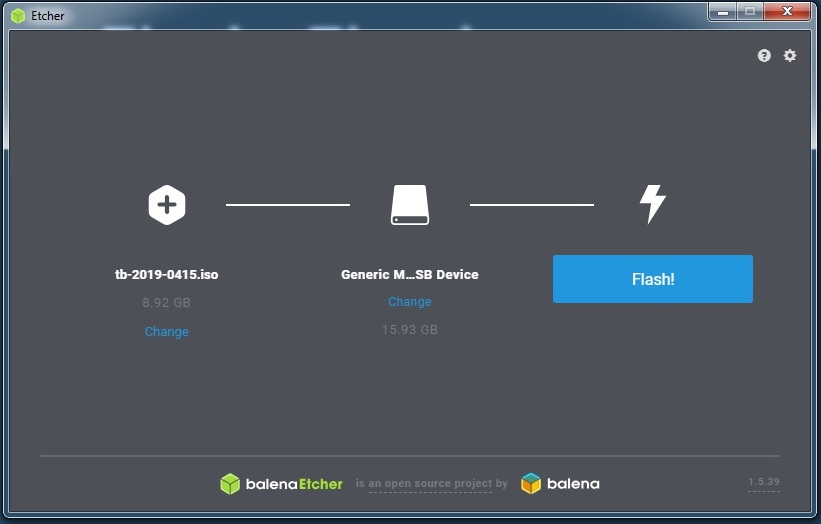
6. Open balenaEtcher, select the image file that has been unpacked, and the microSD drive to which you want to burn it on, then press Flash. The process will begin momentarily.
After the image file has been flashed onto the microSD card, it can now be inserted ino the TinkerBoard computer to use the myCNC configured Linux system.
Setting up TeamViewer on an Asus TinkerBoard SBC
In order to set up the TeamViewer application, please follow the instructions below:
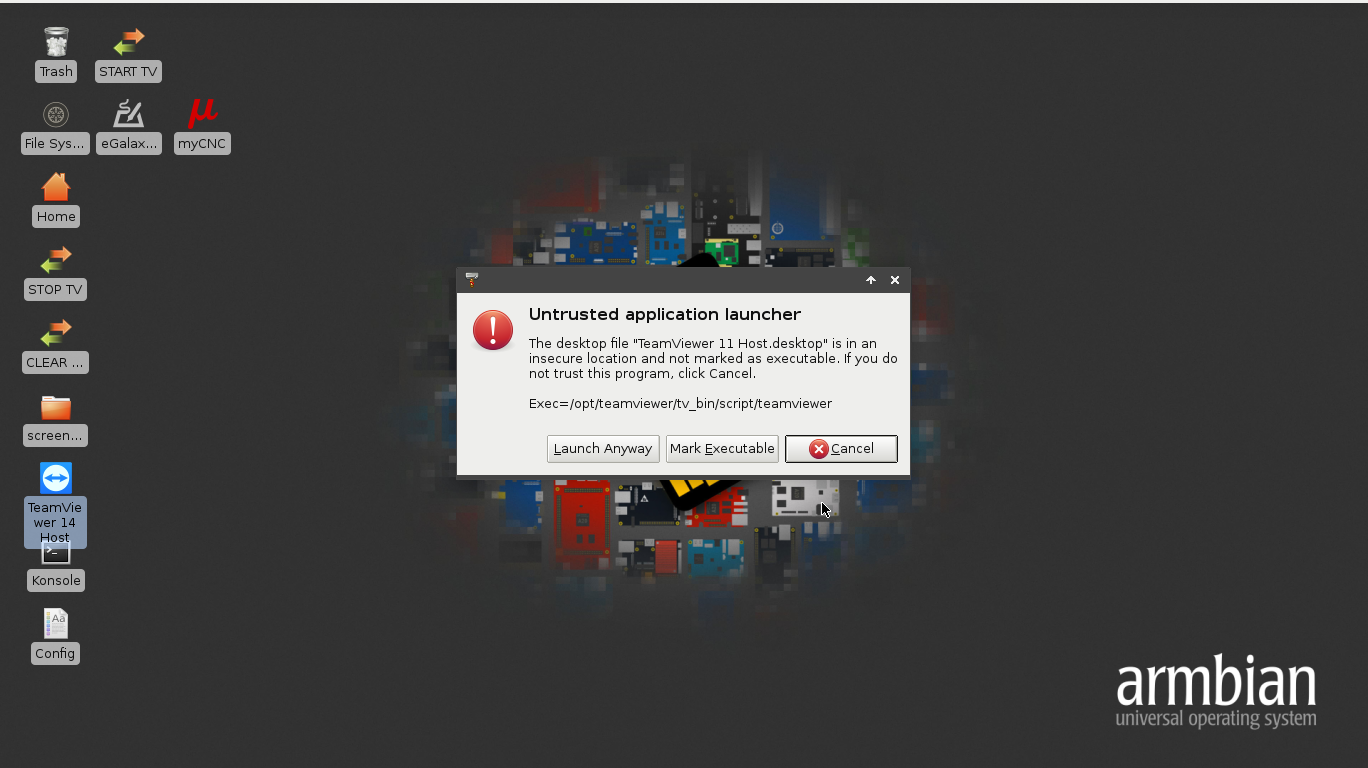
1. Double-click the TeamViewer icon on your desktop to open it and select the Mark Executable option.
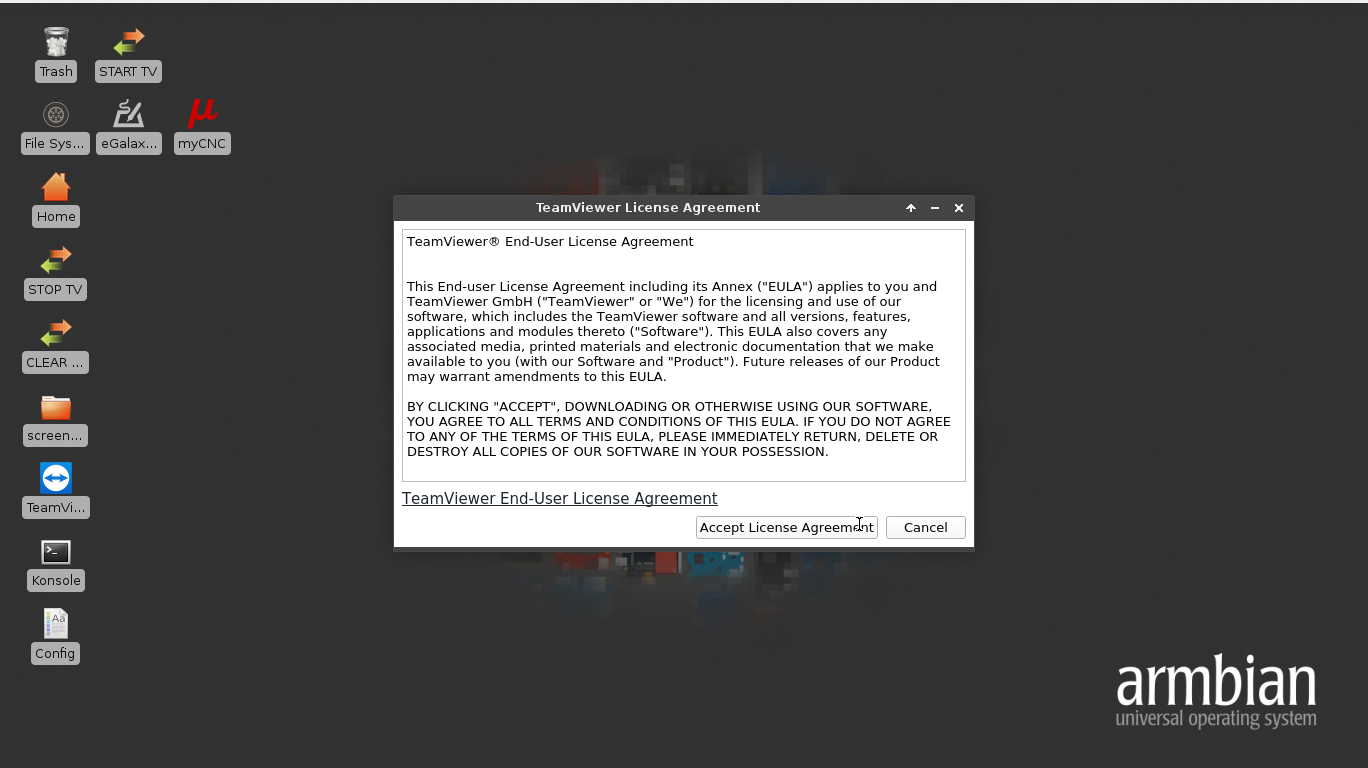
2. Click Accept License Agreement
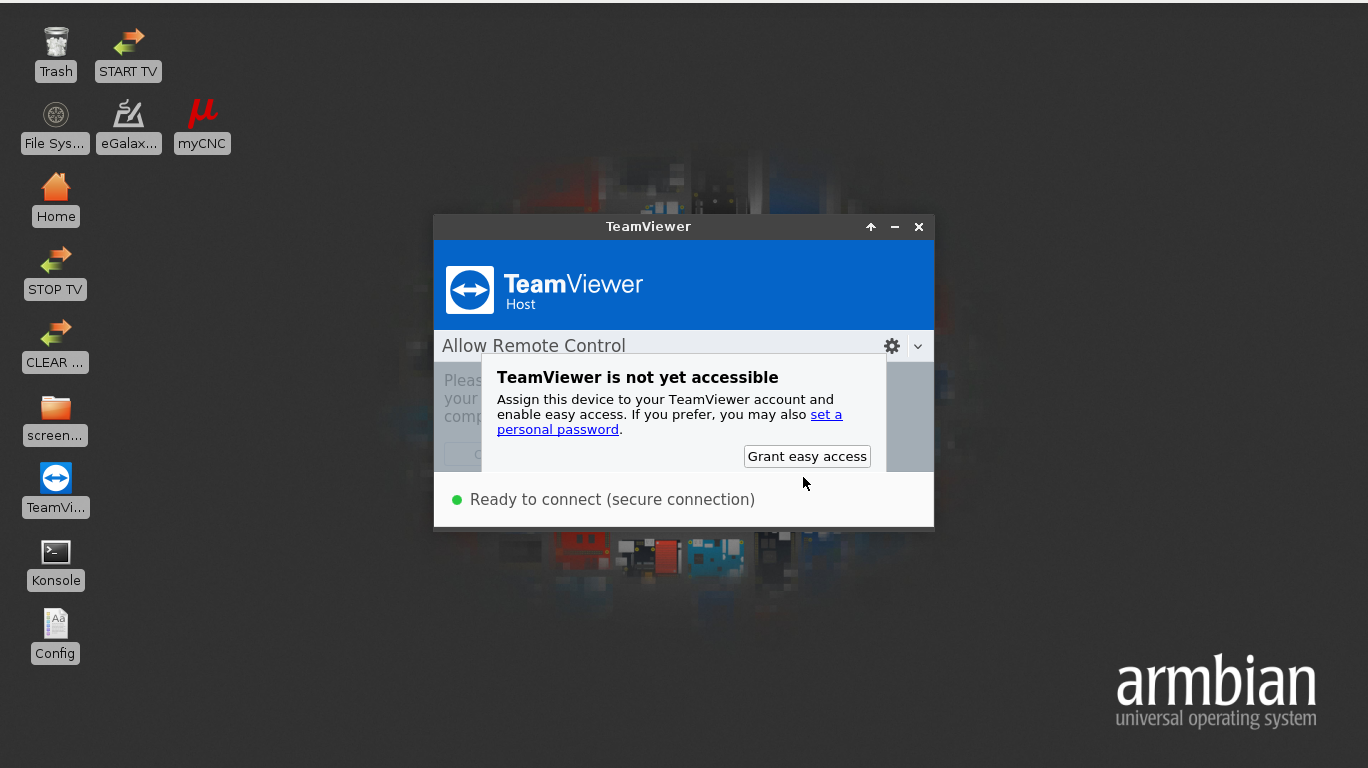
3. The following window will pop up, notifying you that TeamViewer is not yet accessible. Go to the Settings menu (the gear button in the top-right corner).
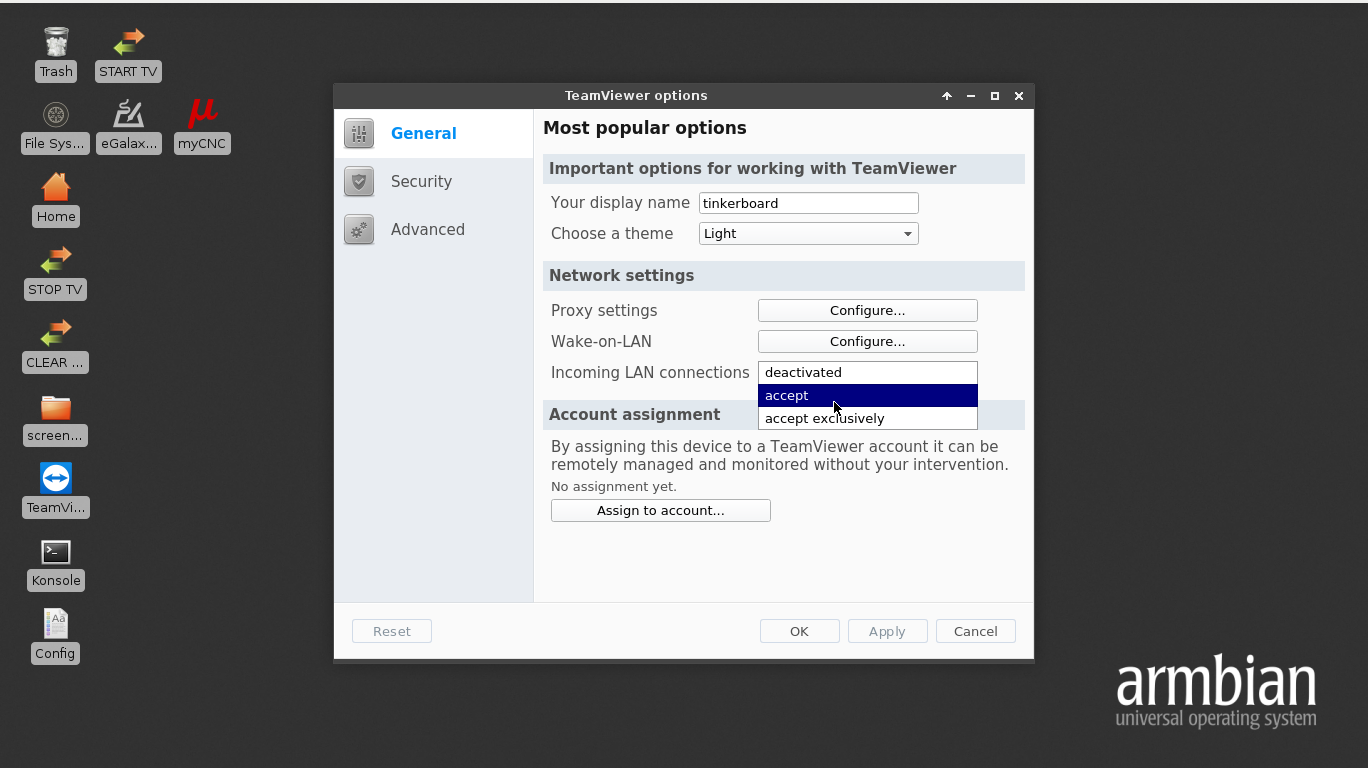
4. Go to General > Network Settings and select accept in the Incoming LAN connections field.
5. Go to Security and select Secure (6 characters) in the Password strength field.
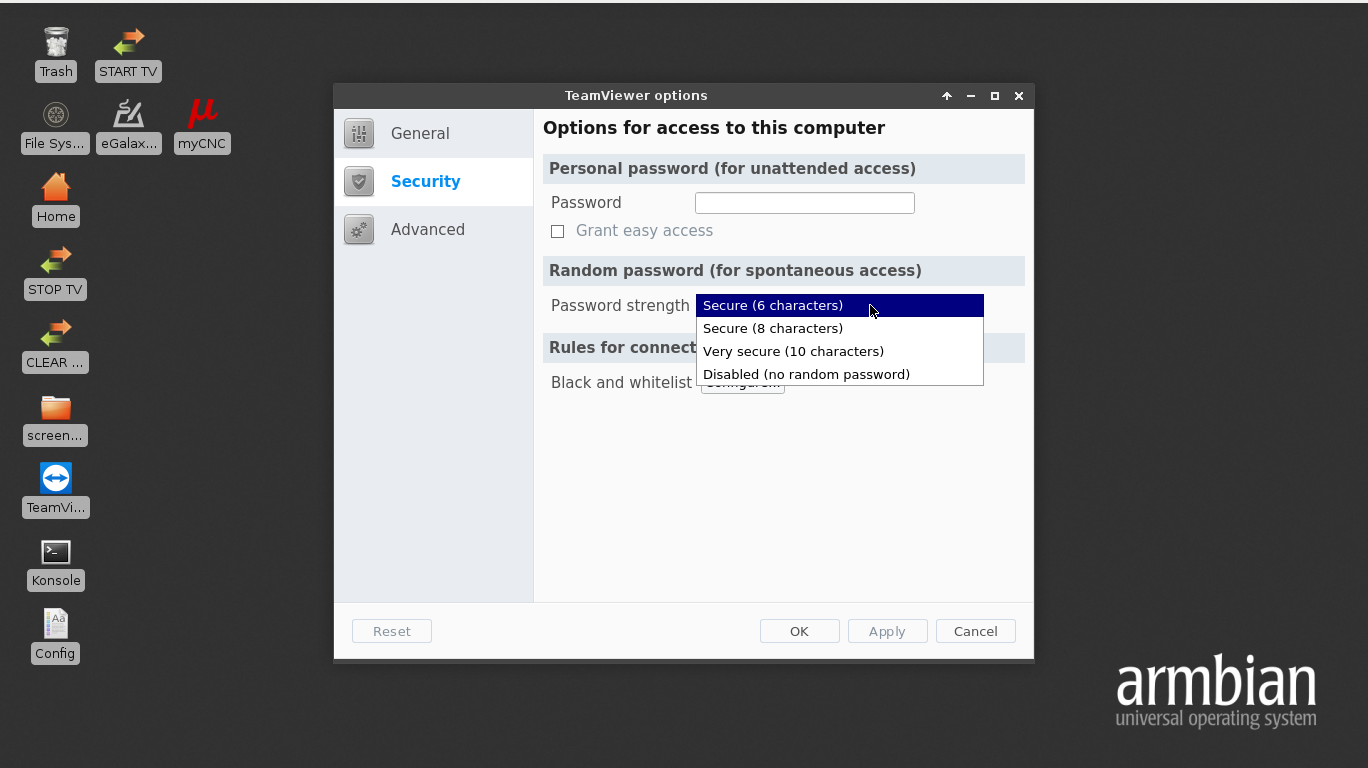
6. Click OK. The TeamViewer ID and password should now appear on the main screen of the TeamViewer application, and the setup should be complete.

