Table of Contents
1280 Series Screen Configuration Examples
Add rotation dialog on the main screen
Add "Servo On" and "Servo Off" buttons
Objective: We need to add Servo On and Servo Off buttons to the 1280M5 profile.
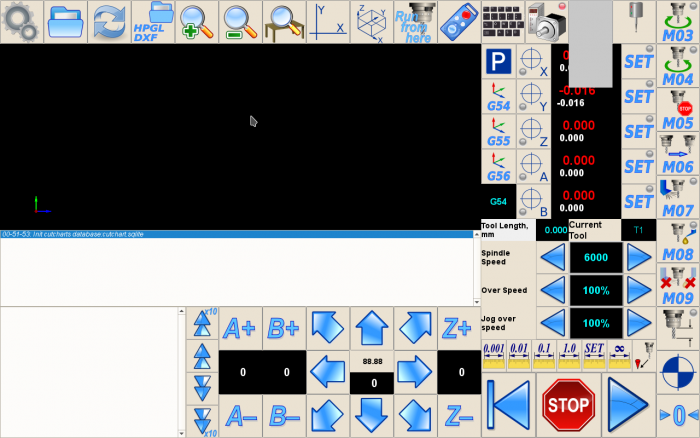
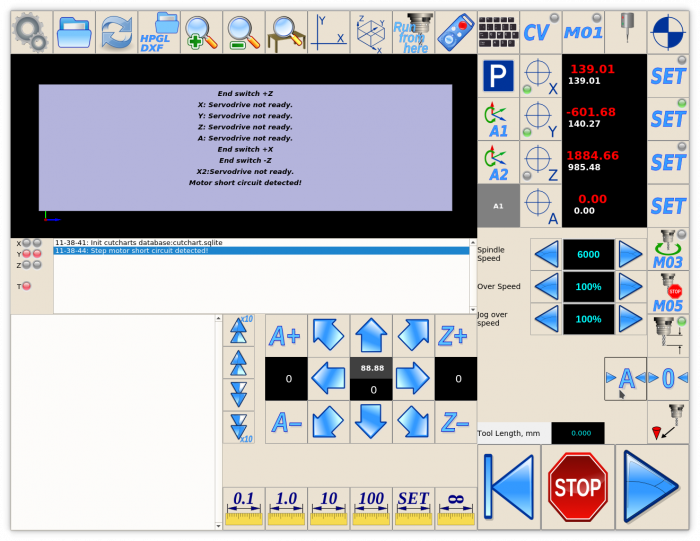
Original profile screen (before the buttons are added) is shown below:
We will insert our new buttons in place of the CV (constant velocity toggle) button
1. Find cnc-screen.xml configuration file in 1280M5 profile folder
2. Edit the file (in Midnight commander press F4 on the cnc-screen.xml file)
3. Find in the file section with CV button definition (F7, search “CV”)
Here is the code section with the CV button code:
<gitem where="magic" position="960;0" width="80" height="80"
image="CV/CV" action="cnc-gvariable-toggle-5710"
xattr="60;4;16;16;led;red;round" name="display-gvariable-5710"
type="xbutton" />
4. Put under this button a small popup window which serve as a container for the two new buttons - Servo ON & Servo Off. Add quick-popup-layout section with popup window definition:
<quick-popup-layout>
  <current>popup-servo</current>
  <layout stretch="0" name="popup-servo" wa="80;160;right"
  orientation="vertical" skin="skin/metal-01">
    <widget stretch="1" spacing="0" name="toolbar-servo"
    orientation="vertical">myitems</widget>
  </layout>
</quick-popup-layout>
- Layout for Servo buttons will be named “popup-servo”, size of layout is 80×160, layout placed to the right side of the button that activates the popup (wa means “Window Attributes”).
- Layout contains a Window named “toolbar-servo”.
5. Fix the CV button to show/hide popup-servo -
image=“CV/CV” action=“cnc-gvariable-toggle-5710”
image=“motor/servo-driver-wide” action=“mypopup-toggle:popup-servo”
<gitem where="magic" position="960;0" width="80" height="80"
image="motor/servo-driver-wide" action="mypopup-toggle:popup-servo"
xattr="60;4;16;16;led;red;round" name="display-gvariable-5710"
type="xbutton" />
6. Save the cnc-screen.xml file, restart the software and press new button with Servo driver. Small popup grey colour window will be shown on the right side of the button.
7. Add two buttons definition in the popup window:
<gitem where="toolbar-servo" image="motor/motor-start" action="plc-run:M62/3"
height="80" event="pressed-delay-1000" type="button"/>
<gitem where="toolbar-servo" image="motor/motor-stop" action="plc-run:M63/3"
height="80" type="button"/>
To prevent accidental servo driver activation add 1 sec delay for start button (this is not necessary, but is recommended):
event="pressed-delay-1000"
action function will be started only if the button press and hold for 1 sec (1000 msec). On button will turn ON the relay #3 (M62 PLC procedure) Off button will turn OFF the relay #3 (M63 PLC procedure)
For more complicated configurations, a special PLC procedure can be written to handle Servo ON/OFF (for example turn ON servo power, wait some time and then check the servo Fault/Alarm inputs before turn ON Servo On)
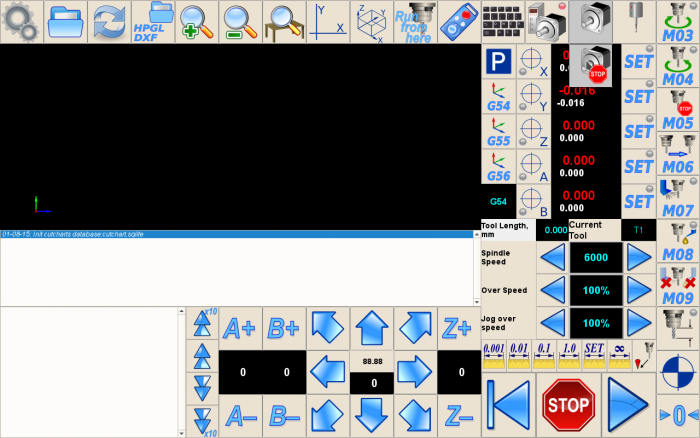
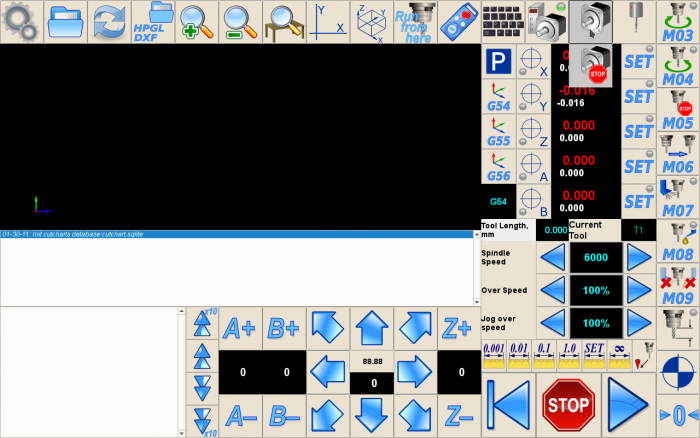
Result should be like this:
Button & XButton types
The difference between a button and an xbutton push-button types is easy to see if we compare the “Servo” button that shows/hides the popup window and the “Servo-On”/“Servo-Off” buttons. Main “Servo” button contains the LED display. XButton is a simple Push button with an added LED display on top of the typical button. When writing code for an XButton, the LED parameters for it are specified in the xattr attribute.
xattr="60;4;16;16;led;red;round" name="display-gvariable-5710"
type="xbutton" />
In xattr, we are able to program the start x, y positions of the LED inside the button, the width and height of the LED, to define the LED type, LED colour (red, green, blue, yellow) and the LED shape (round, square - note that the shape is rectangular by default, so a rectangular LED will be shown if no shape is specified).
Custom-defined skin from SVG file are also possible and will be described in other examples.
Attribute name=“display-gvariable-5710” sets up the LED display to show current state of CNC Global variable #5710 (0 - LED is OFF, 1 or more - LED is ON)
Attributes address=“outputs” number=“3” setup LED display to show current state of output pin #3. Similar to the global variable state display, LED will be OFF if the output pin is clear, LED will be ON if the output pin is set.
To complete this example, we can change the LED programming to show the state of the output pin #3 in order to monitor the servo, and we can also resize the LED to check how it changes visually. The following code is to be used:
<gitem where="magic" position="960;0" width="80" height="80"
image="motor/servo-driver-wide" action="mypopup-toggle:popup-servo"
xattr="56;4;20;20;led;green;round" address="outputs" number="3" type="xbutton" />
- where defines the section in which the LED button (XButton) will be located
- position defines the location of the button within that section (not within the main overall screen, but only the section into which it is inserted)
- width and height for the XButton are specified in pixels
Add "Servo On" and "Servo Off" buttons (Version 2)
Here is another way to add a 2 buttons widget containers with 2 buttons. For this example, we will be using the same 1280M5 profile.
Original starting screen is shown below:
We will insert the new buttons in place of the CV (constant velocity) button similar to Example 1.
1. Find the cnc-screen.xml configuration file in the 1280M5 profile folder. The cnc-screen.xml file is present in every profile and defines the majority of that profile's screen layout.
2. Edit the file (for example, if using in Midnight Commander, press F4 when the cnc-screen.xml file is selected, or edit the file using your text editor of choice)
3. Find in the file section with CV button definition (press F7 and search for “CV”)
Here is the CV button code section:
<gitem where="magic" position="960;0" width="80" height="80"
image="CV/CV" action="cnc-gvariable-toggle-5710"
xattr="60;4;16;16;led;red;round" name="display-gvariable-5710"
type="xbutton" />
4. We will put under this existing button a small popup window which will be a container for two buttons - Servo ON & Servo Off.
Add a mywidget item - a custom small widget with some given attributes:
<gitem where="magic" position="1120;80" height="160" width="80"
type="myitems" name="toolbar-servo"
bgColor="#d0d0d0" hidden="1" />
widget name: toolbar-servo
Widget size: 80×160 will be exactly big enough to fit two 80×80 buttons in.
Built-in LED to show output#0 state
5. Fix CV button to show/hide popup-servo -
image=“CV/CV” action=“cnc-gvariable-toggle-5710”
image=“motor/servo-driver” action=“mywidget-toggle:toolbar-servo”
<gitem where="magic" width="80" height="80" position="1120;0"
image="motor/servo-driver" action="mywidget-toggle:toolbar-servo"
xattr="56;4;20;20;led;green;round" address="outputs" number="0"
type="xbutton" ></gitem>
6. Save cnc-screen.xml, restart the software and press the new button with Servo driver. Small grey popup window will be shown on the right side of the button.
7. Add two buttons definition in the popup window. Definition is very similar to previous example but we will need to add the button position attribute inside of the widget attributes, as well as the button width/height attributes.
<gitem where="toolbar-servo" position="0;0"  width="80" height="80"
image="motor/motor-start" action="servo-pid-on"  event="pressed-delay-1000" type="button" />
<gitem where="toolbar-servo" position="0;80" width="80" height="80"
image="motor/motor-stop"  action="servo-pid-off" type="button" />
To prevent accidental clicks/presses which would trigger this button, we can add one second of delay in which it would be required to click and hold this button for it to trigger:
event="pressed-delay-1000"
In this way, the action function will be started only if the button is pressed and held for 1 sec (1000 msec). ON button will run the Servo-PID-ON procedure OFF button will run the Servo-PID-OFF procedure
The result should be similar to the screenshot below:
Add Window with some LEDs display
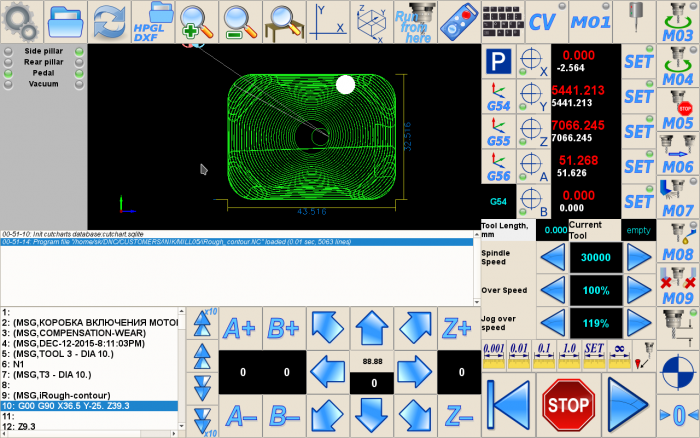
Objective: we need to add a window with 8 LED displays and some text labels to the main screen. These will show the current state of some inputs and outputs which will be assigned to each particular LED.
For this example, we will use the 1280M5 profile as a base.
Original screen is shown here:
We will make our main visualization widget (the screen on which the G-code program is displayed visually) a little narrower. Afterwards, we will put our new window to the left side of the shrunken visualization window.
Find “glview” section in cnc-screen.xml and fix from:
<gitem where="magic" position="0;80" width="880" height="340"
bgColor="0xff353535" name="glview" type="glview" />
to:
<gitem where="magic" position="160;80" width="820" height="340"
bgColor="#ff353535" name="glview" type="glview" />
<gitem where="magic" position="0;80" width="160" height="340"
bgColor="#ffbbbbbb" name="led-panel" type="myitems" />
Save and reload the application. The result is the following:
In the first line, add the labels and LEDs on the left and the right:
<gitem inversion="no" where="led-panel" position="5;5" width="20" displayWidth="20" height="20"
address="outputs" number="11" shape="round" color="green" type="led" />
<gitem inversion="no" where="led-panel" position="25;5" width="130" labelWidth="110"
displayWidth="20" height="20" labelAlignment="hcenter" labelFontSize="14"
address="outputs" number="14" shape="round" color="green" type="led">
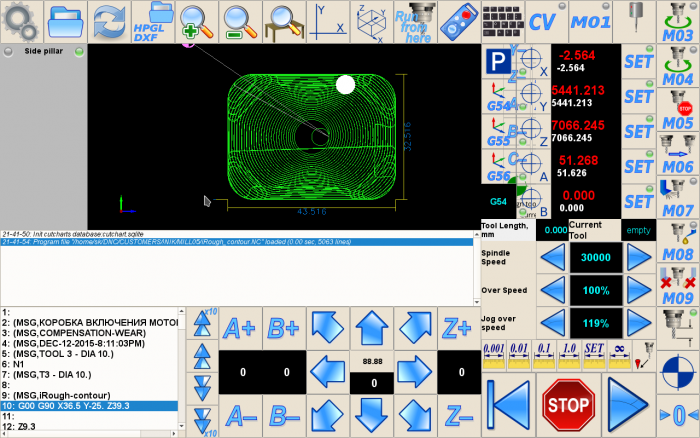
  <message>Side pillar</message>
  <message_ru>Боковой упор</message_ru>
</gitem>
- where=“led-panel” - LEDs will be added to window named “led-panel” which was added before
- address=“outputs” - Leds will show the state of our hardware Outputs
- <gitem inversion=“no” where=“led-panel” position=“5;5” width=“20” displayWidth=“20” height=“20” address=“outputs” number=“11” shape=“round” color=“green” type=“led” />
- the first (leftmost) LED is single, with no text label assigned
- <message_ru>Боковой упор</message_ru> - second (right) led associated with text label
- position=“5;5” - the LED is placed to this position inside the parent widget specified in the where field
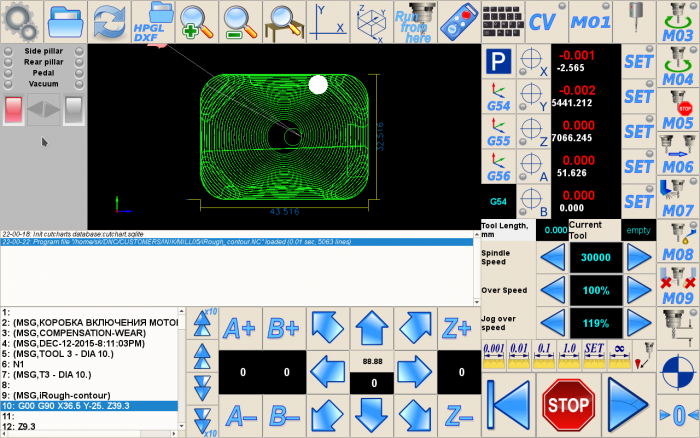
The result will be the folowing:
Add some more LEDs to the widget. Complete code for the widget is the following:
  <gitem where="magic" position="0;80" width="160" height="340" bgColor="#ffbbbbbb"
  name="led-panel" type="myitems" />

<gitem inversion="no" where="led-panel" position="5;5" width="20" displayWidth="20"
  height="20" address="outputs" number="11" shape="round" color="green" type="led" />

<gitem inversion="no" where="led-panel" position="25;5" width="130" labelWidth="110"
  displayWidth="20" height="20" address="outputs" number="14" labelAlignment="hcenter"
  labelFontSize="14" shape="round" color="green" type="led">
  <message>Side pillar</message>
  <message_ru>Боковой упор</message_ru>
</gitem>

<gitem inversion="no" where="led-panel" position="5;25" width="20" displayWidth="20"
  height="20" address="outputs" number="22" shape="round" color="green" type="led" />

<gitem inversion="no" where="led-panel" position="25;25" width="130" labelWidth="110"
  displayWidth="20" height="20" address="outputs" number="23" labelAlignment="hcenter"
  labelFontSize="14" shape="round" color="green" type="led">
  <message>Rear pillar</message>
  <message_ru>Задний упор</message_ru>
</gitem>

<gitem inversion="no" where="led-panel" position="5;45" width="20" displayWidth="20"
  height="20" address="inputs" number="13" shape="round" color="green" type="led" />

<gitem inversion="no" where="led-panel" position="25;45" width="130" labelWidth="110"
  displayWidth="20" height="20" address="inputs" number="14" labelAlignment="hcenter"
  labelFontSize="14"shape="round" color="green" type="led">
  <message>Pedal</message>
  <message_ru>Педаль</message_ru>
</gitem>

<gitem inversion="no" where="led-panel" position="5;65" width="20" displayWidth="20"
  height="20" address="outputs" number="10"   shape="round" color="green" type="led" />

<gitem inversion="no" where="led-panel" position="25;65" width="130" labelWidth="110"
displayWidth="20" height="20"   address="outputs" number="15" labelAlignment="hcenter"
labelFontSize="14" shape="round" color="green" type="led">
  <message>Vacuum</message>
  <message_ru>Присоски</message_ru>
</gitem>
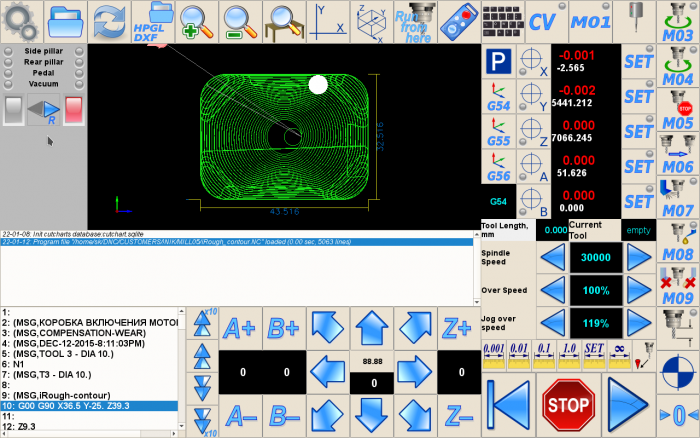
The result will be this:
Add a button with an LED display that toggles Global Variable value and shows its current state
For this example, the machine runs the same G-code on left and right sides of the machine table. To increase performance, the operator will remove the ready (finished) parts and will install a new blank piece of material on one side of the table while the machine cuts new parts on another side.
Global variable #500 contains Current active side that the machine is currently working with (or will be working with).
Variable value:
- 0 - means machine works (or will start to work) with the left side,
- 1 - means machine works on the right side.
We add a button to toggle current side. We add on-button indication and add LED displays to show the current working side.
The following code is used for defining the button:
  <gitem where="led-panel" type="xbutton" position="50;90" width="60" height="60" image="left-right"
  action="direct-run:G90 G10 L186 P500 Q1" />
</code

LED displays on the left and the right sides of the button are inserted using the following code:

<code xml>
<gitem inversion="no" where="led-panel" position="5;90" width="40" height="60" name="display-cnc-gvariable-500"
shape="square" color="red" type="led" />
<gitem inversion="yes" where="led-panel" position="115;90" width="40" height="60" name="display-cnc-gvariable-500"
shape="square" color="red" type="led" />
This should result in the following:
To add “Current Side” indication on the button:
//change// type from "button" to "xbutton"
//add// xattr="xattr="0;0;60;60;led;green;round"
//add// name="display-cnc-gvariable-500" to show current state of Variable #500
//add image files array// - images="--left;--right"
The images that we are using to show the variable state have the same size as the button itself, so the image –left or –right will be drawn on the top of the button image.
Images for button base, “the left state” and “the right state” are:
The code for defining this button is this:
<gitem where="led-panel" position="50;90" width="60" displayWidth="60" height="60" image="left-right"
type="xbutton" action="direct-run:G90 G10 L186 P500 Q1"
images="--left-right;left--right" name="display-cnc-gvariable-500" xattr="0;0;60;60;led;green;round"/>
The result should look like this:
Add Buttons with LED display that runs PLC procedures and shows Output pin state
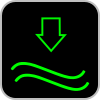
Objective: We need to add 2 buttons on the main software screen. These buttons will be responsible for filling up and draining water from the plasma cutting machine water table. These will be the two buttons that we are adding:
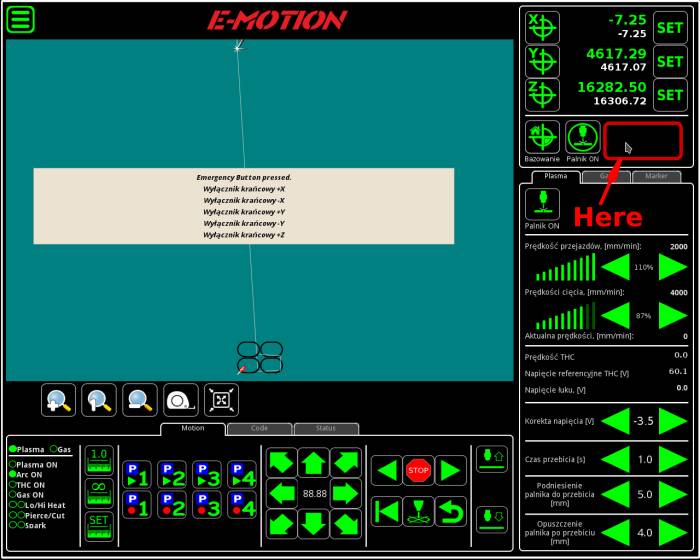
We need to add a button on the right side of the Palnik ON button:
Go to cnc-screen.xml in the main profile folder and locate the “Palnik ON” line. Here is the code defining the Palnik ON button and the static text label under it:
<gitem where="ecocut-coordinates" position="80;205" width="60" height="60"
image="Ecocut/2a;Ecocut/1a" action="cnc-mode-cutting-ignore" type="toggle-switch" />

<gitem where="ecocut-coordinates" position="80;265" width="60" height="20" type="label"
fgColor="white" labelFgColor="white" labelFontFamily="sans-serif" labelFontSize="12"
fontSize="12" fontStyle="bold" labelAlignment="vcenter;hcenter">
  <message>Test Plasma</message>
  <message_ru>Поджиг</message_ru>
  <message_pl>Palnik ON</message_pl>
</gitem>
- where=“ecocut-coordinates” - widget where button & label are placed
- position=“80;205” width=“60” height=“60” - position, width and height of the button
We need to add our 2 buttons just after the block of code described above by adding the following:
<gitem where="ecocut-coordinates" position="150;205" width="60" height="60" image="Ecocut/water-up"
action="direct-plc:M240/1" type="button" />
<gitem where="ecocut-coordinates" position="145;265" width="70" height="20" type="label" fgColor="white"
labelFgColor="white" labelFontFamily="sans-serif" labelFontSize="12" fontSize="12"
fontStyle="bold" labelAlignment="vcenter;hcenter" >
  <message>Water Fill</message>
  <message_pl>Water Fill</message_pl>
</gitem>

<gitem where="ecocut-coordinates" position="220;205" width="60" height="60" image="Ecocut/water-down"
action="direct-plc:M240/0" type="button" />
<gitem where="ecocut-coordinates" position="215;265" width="70" height="20" type="label" fgColor="white"
labelFgColor="white" labelFontFamily="sans-serif" labelFontSize="12" fontSize="12" fontStyle="bold"
labelAlignment="vcenter;hcenter" >
  <message>Water Drain</message>
  <message_pl>Water Drain</message_pl>
</gitem>
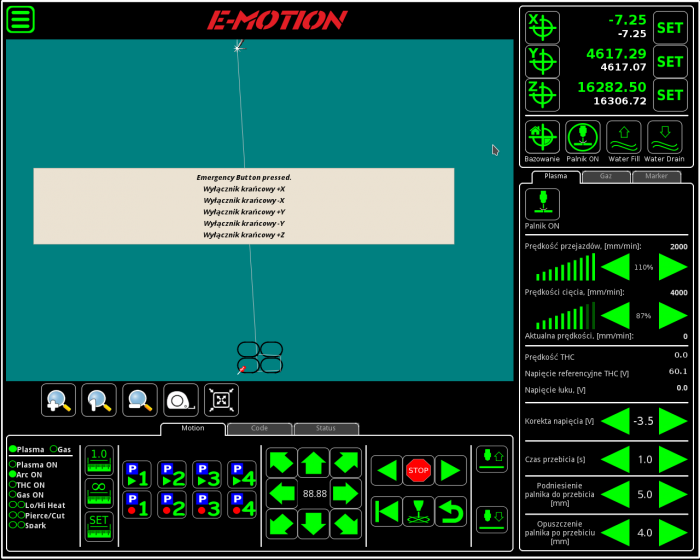
The result will be the following:
- Output pin #13 will control the Water Fill,
- Output pin #12 will control the Water Drain
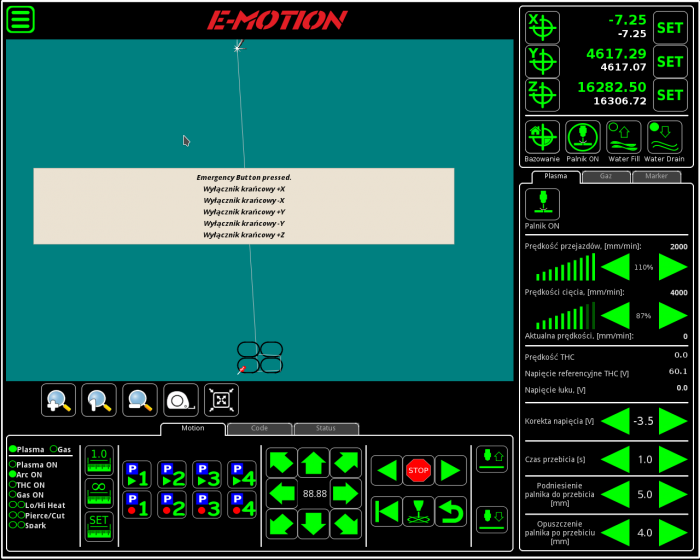
Add LEDs display to the buttons -
1. Change type from “button” to “xbutton” 2. Add xatrr attribute to buttons definition with LEDs position, width, height, colour and shape 3. Add to button definition attribute address=“outputs” and number=“12” (or number=“13”) to show output pin state
<gitem where="ecocut-coordinates" position="150;205" width="60" height="60" image="Ecocut/water-up"
action="direct-plc:M240/1"
type="xbutton" xattr="4;4;16;16;led;green;round" address="outputs" number="13"/>
<gitem where="ecocut-coordinates" position="220;205" width="60" height="60" image="Ecocut/water-down"
action="direct-plc:M240/0"
type="xbutton" xattr="4;4;16;16;led;green;round" address="outputs" number="12" />
This should result in the following screen:
To control Water Fill/Drain PLC procedure M240 with parameter “1” (to Fill) or “0” (to Drain) is used. PLC procedure M240 is described Here
Add display to show current PLC status for Gas Cutting
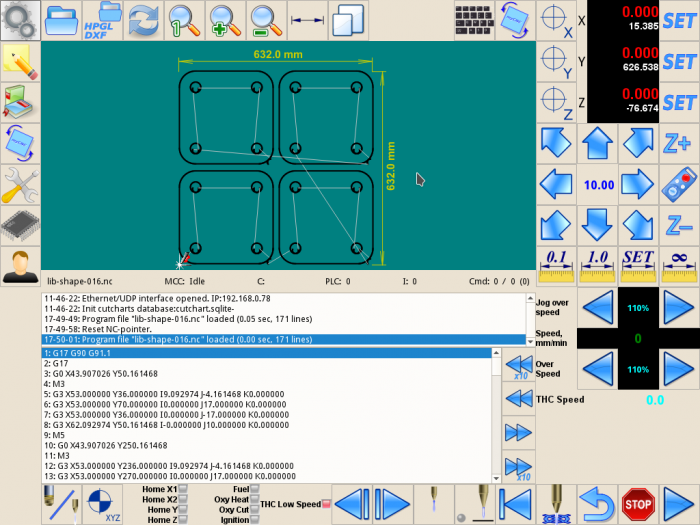
In this example, we will be working with the 1024G profile. The main screen of the profile is shown below:
Put the PLC process display in the top part of the empty area next to the “THC Speed” display.
To add this display element:
- find and open the “cnc-screen.xml” file in the profile folder (each profile has its own cnc-screen.xml file)
- find find the “THC Speed” display code block:
<gitem fgColor="cyan" where="w-operate" labelFontStyle="bold" format="%5.1f" K="1." height="30"
type="display" deviation="0.01" name="display-gvariable-5493" bgColor="transparent"
displayWidth="140" labelWidth="100" fontStyle="bold" fontSize="20" orientation="horizontal">
  <message>THC Speed</message>
  <message_ru>Z Слежение</message_ru>
</gitem></code
  * Add a new display element (the easiest way is to copy-paste "THC Speed" display and edit it.
  * Remove "name", "K" attributes
  * Add "address" attribute to organize process display - <code>address="plc-proc"
- Change type -
type="radio-display"
- Edit “format” attribute -
format="No Cutting=0;Ignition=50;PreHeat=51;Cutting=60"
- Translate text inside format attribute if need local language messages -
format="Ожиидание=0;Поджиг=50;Подогрев=51;Резка=60
- Edit bgColor, fgColor, fontSize attributes to get nice looking display
A complete code -
<gitem fgColor="cyan" where="w-operate" labelFontStyle="bold"
type="radio-display" address="plc-proc" format="Ожидание=0;Поджиг=50;Подогрев=51;Резка=60"
height="30" displayWidth="140" labelWidth="100" bgColor="black"
fontStyle="bold" fontSize="16" orientation="horizontal">
  <message>Proc</message>
  <message_ru>Процесс</message_ru>
</gitem>
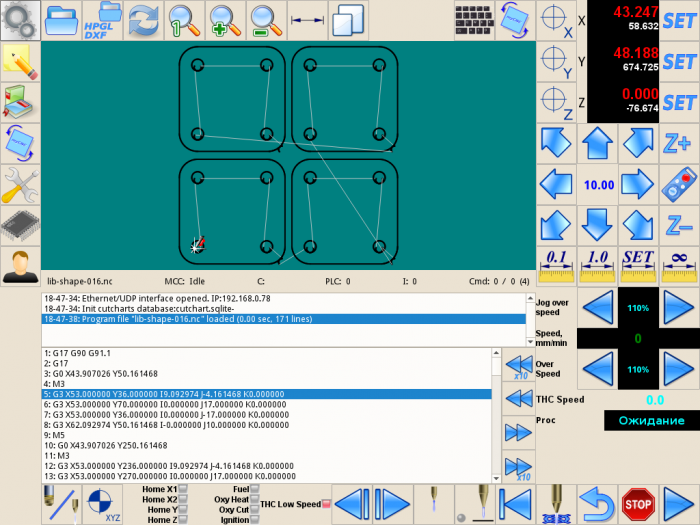
The final screen will look as follows:
Add "Move A to 0" button to run macro with confirmation
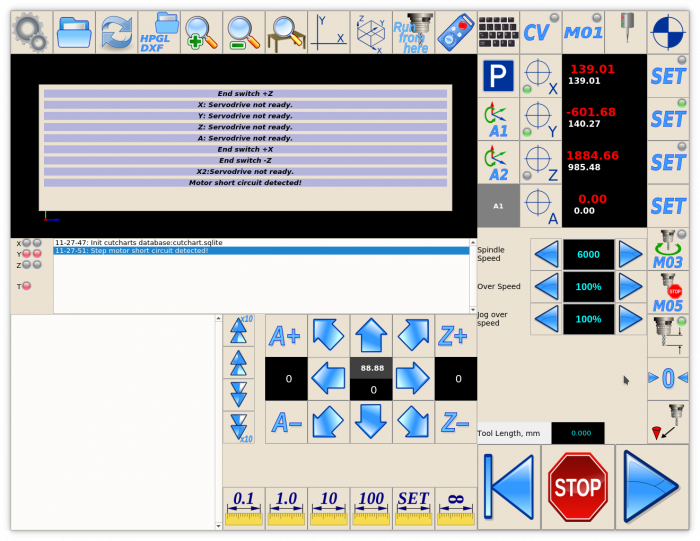 For 3 axes machine we have a button >0< to moves machine to work 0 position.
For machines with rotational axes it is convenient to have similar button to move rotational axis A to work 0.
We add this button to the main screen on the left of >0< button. Here is Move To 0 definition -
<gitem type="button"
where="magic"
image="parking/move-to-0"
action="direct-run-confirm:M333"
position="1200;640" width="80" height="80">
 <message-confirm>Move to Work (0,0,Tool Lift) position (macro M333). Are you sure?</message-confirm>
 <message-confirm_ru>Переместить в положение (0,0, Tool Lift) (макро M333)?</message-confirm_ru>
</gitem>
Add on the left Move To A definition -
<gitem type="button"
where="magic"
image="parking/move-to-A"
action="direct-run-confirm:M335"
position="1120;640" width="80" height="80">
   <message-confirm>Move to A=0 position (macro M335). Are you sure?</message-confirm>
   <message-confirm_ru>Вернуть в А=0 (макро M335)?</message-confirm_ru>
</gitem>
- type=“button” - Button definition
- where=“magic” - Name of Parent Widget
- image=“parking/move-to-A” - Button skin image filename (SVG format, folder relative to /myCNC/art/buttons-no-theme/)
- action=“direct-run-confirm:M335” - What to do if button pressed -
- direct-run-confirm: - Open Message box to confirm, then
- run G-code sequence (“;” is used as separator of g-code blocks)
- position=“1120;640” width=“80” height=“80” - button position on Parent Widget, width and height of button
- <message-confirm>Move to A=0 position (macro M335). Are you sure?</message-confirm> - message to show in Message Box
- <message-confirm_ru>Вернуть в А=0 (макро M335)?</message-confirm_ru> - message to show for Russian language
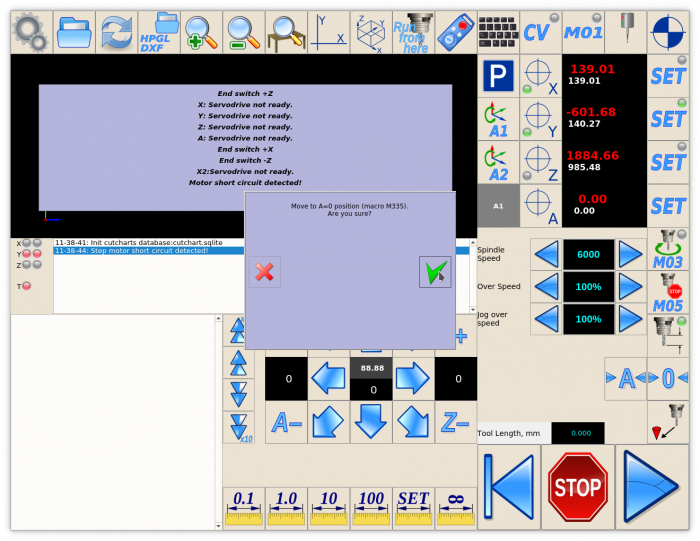 Message Box when Move To A button pressed
If button OK pressed on Message Box, g-code line M335 (which is macro actually) will be executed to move A axs to zero.
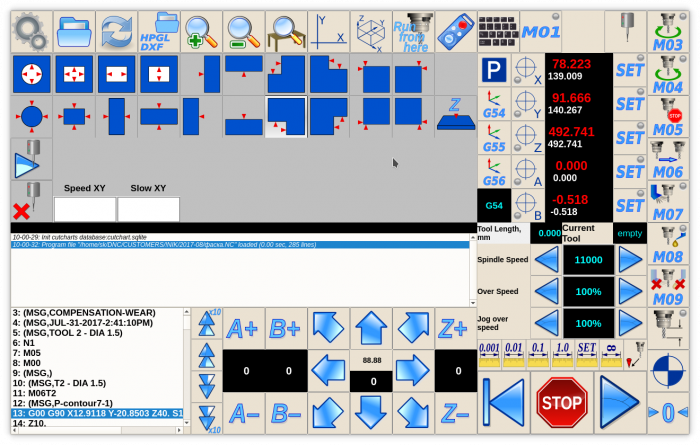
Add Centring Widget on main GUI screen
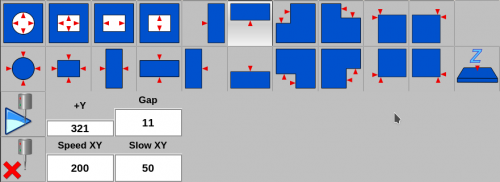
myCNC software has Centring widget to work with probing sensor and find internal and external centers, edges, corners on parts. The Centring widget looks like this:
There is just 1 line to configure Centring Widget in cnc-screen.xml configuration file.
<gitem type="centringview" where="magic"
bsize="80"
position="0;80" width="880" height="320"
hidden="1"
bgColor="#c0c0c0">centringview</gitem>
- type=“centringview” - Centring Widget definition
- where=“magic” - name of Parent Widget
- bsize=“80” - size of buttons
- position=“0;80” width=“880” height=“320” - Position of Centring Widget on the Parent WIdget, width and height of Centring Widget
- hidden=“1” - Centring Widget is hidden on the start of GUI
- bgColor=“#c0c0c0” - Backgroundcolor of Centring Widget
Centring Widget takes up a lot of space on the main screen, so it's convenient to have it hidden while the normal work process is underway and to show the widget only when working with the probe sensor.
To show/hide Centring Widget, an on-screen button is typically used.
<gitem type="button"
image="probing/centring-unit" action="toggle-widget-centring"
where="magic"
position="1120;0" width="80" height="80" />
- type=“button” - Button definition
- image=“probing/centring-unit” - image for the button skin (in SVG format, relative to images folder “/myCNC/art/buttons-no-theme/
- action=“toggle-widget-centring” - Action definition for pressing the button - Show/Hide Centring Widget
- where=“magic” - name of Parent Widget
- position=“1120;0” width=“80” height=“80” - Button position on the Parent Widget, width and height on the button in pixels

